A violin is a complex and delicate instrument that requires skill, precision, and patience to create. The process of making a violin is a combination of art and science. It has evolved over the centuries to produce the high-quality instruments that we know today. In this article, we will explore the step-by-step process of how a violin is made. From selecting the wood to the final tuning!
How A Violin is Made
Making a violin is a skilled process. Each step is important for creating a high-quality instrument. From selecting the wood to final tuning, every aspect is carefully considered. The process includes selecting the wood, making molds, shaping the wood, cutting the F-holes, applying varnish, and assembling and tuning the violin for optimal sound.
Selecting the Wood
The first step in making a violin is selecting the wood. The wood used for violins is typically spruce for the top and maple for the back, ribs, and neck. Wood must be aged for at least 15-20 years before it is used, to ensure that it is properly seasoned and has the right properties for making a violin. The wood is carefully inspected for defects, such as knots, and is chosen for its straight grain and even color.
Making the Molds
Once the wood is selected, the next step is to create the molds for the violin. The molds are used to shape the wood into the proper shape and size for the violin. The molds are typically made of plaster and are based on the traditional Stradivari and Guarneri models. Molds are used to shape the top, back, and sides of the violin.
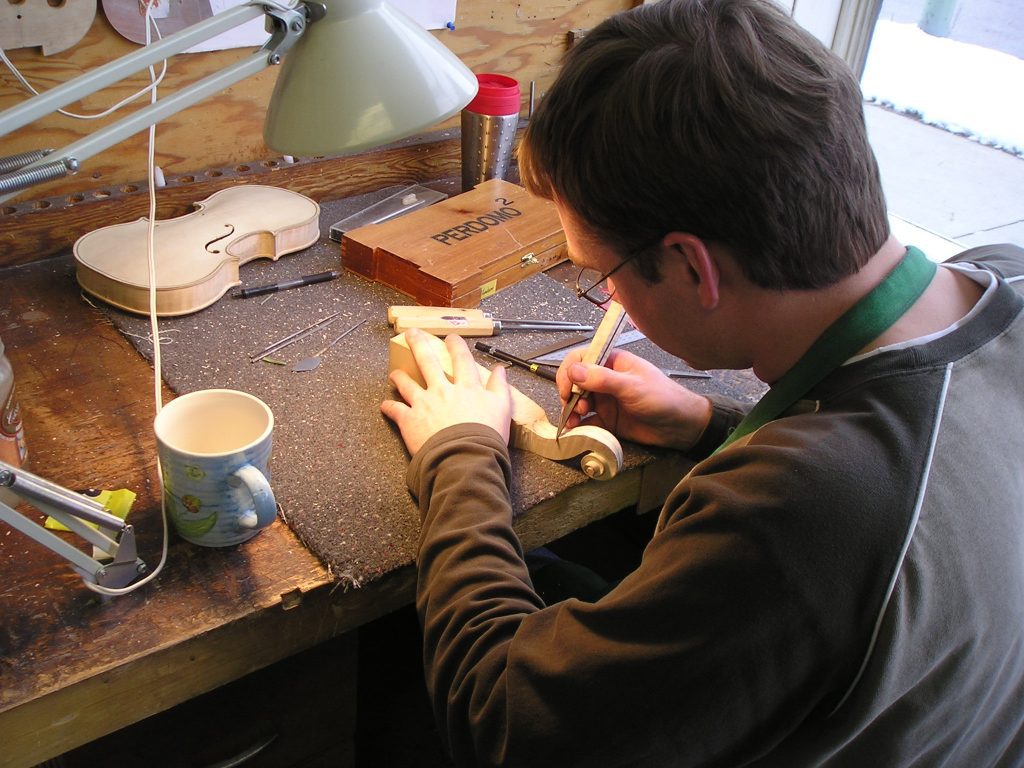
Shaping the Wood
After the molds are created, the wood is shaped to fit the molds. This is a delicate process that requires skill and precision. The top and back are shaped and then glued to the rib and neck. The edges are then trimmed and sanded to create a smooth surface.
Creating the F-holes
The next step is to create the F-holes, which are the two small, distinctive openings on the top of the violin. The F-holes are cut with a specialized tool and are carefully carved to a precise shape and size. They play a crucial role in the sound production of the violin, as they allow the sound to resonate from the inside of the violin.
Applying the Varnish
Once the violin is shaped and the F-holes are cut, it is time to apply the varnish. Varnish is a protective coating that is applied to the violin to enhance its beauty and protect the wood from damage. The varnish is usually made from a mixture of oil and resin, and it is applied in several thin layers. Each layer is allowed to dry before the next one is applied, and the final layer is polished to a high shine.
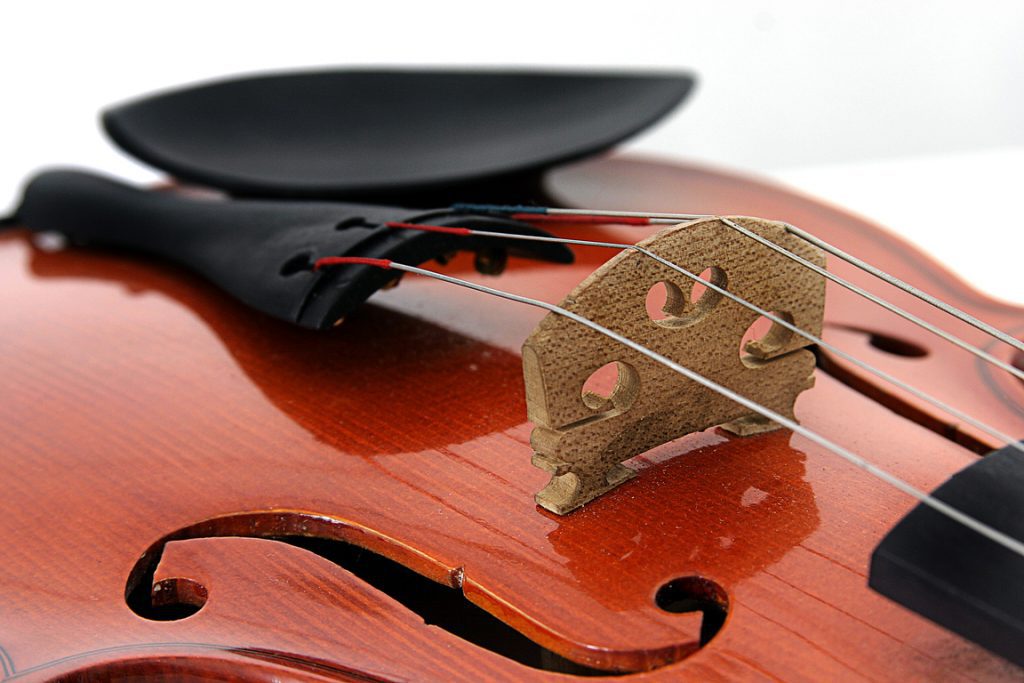
Assembling and Tuning
The final step in the process of making a violin is assembling and tuning. The strings, tailpiece, chin rest, and other parts are added to the violin. The violin is then tuned and fine-tuned to ensure that it produces the best possible sound. This is a critical step, as it is essential to the quality and playability of the violin.
Conclusion
The process of making a violin is a combination of art and science, and it requires skill, precision, and patience. From selecting the wood to assembling and tuning, each step is essential to producing a high-quality instrument that will be cherished for years to come. Understanding the process of how a violin is made can help us appreciate the craftsmanship and beauty of this unique instrument.